Please install the above application with administrator rights. (Right Click on setup select Run as administrator). What is Ellipse Plotter? Ellipse Plotter is application which you can draw ellipse and circle in Google Earth in desired coordinate. Coordinate file format (.csv) 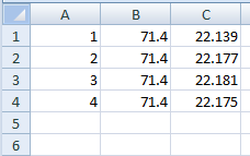 Coordinate file should be in .csv format. Left image shows the input format of .csv First Colum - Location no. Second Colum - Longitude in Degree Decimal Third Colum - Latitude in Degree Decimal How to use the application. Download the setup_ellipse_plotter_V1.0.exe from above link. Install the application. Please install the application as Administrator. (Right Click on setup select Run as administrator). Note: Please install the Google Earth before running this application.  Double click on the EllipsePlotter.exe which is created in desktop. Below window will be opened. 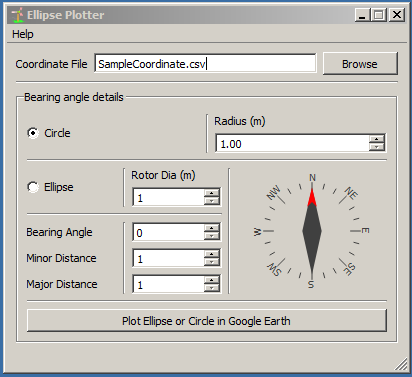 1. Click on browse button to browse .csv file which contains coordinate.
2. Plotting the Circle. a. Select Circle Radio Button if you wish to plot the circle . Radius(m) - Enter the Radius of circle in meters 3. Plotting the Ellipse. a. Select Ellipse Radio Button if you wish to plot the ellipse. Rotor Dia(m) - Rotor diameter of wind turbine in meters. Bearing Angle - Wind direction, which tilts the ellipse major axis parallel to the direction of wind Minor Distance - Distance of the ellipse in y direction (eg: 5- 5 times of the RotorDia(m)) Major Distance - Distance of the ellipse in x direction (eg: 9- 9 times of the RotorDia(m)) 4. Click on the bottom button "Plot Ellipse or Circle in Google Earth". Colour palette will pop up please select the desired colour. Google Earth will one by itself.
2 Comments
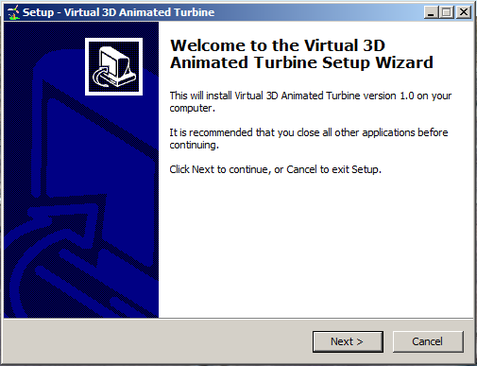
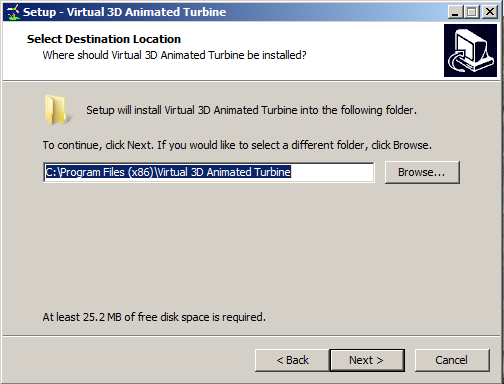
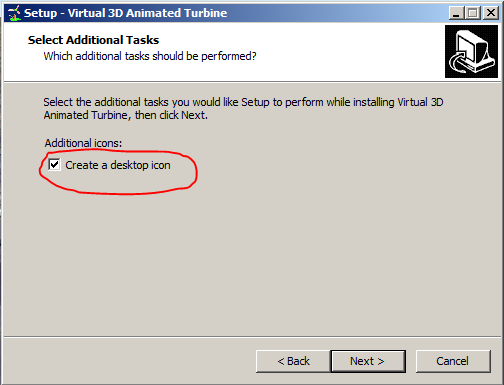
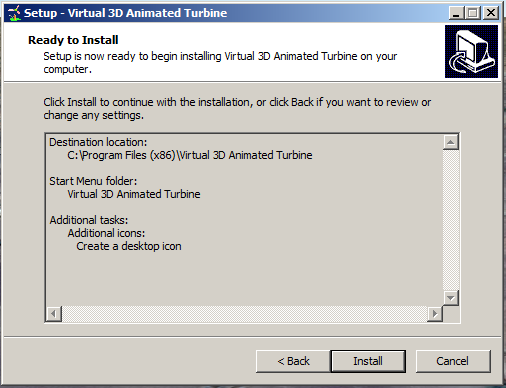
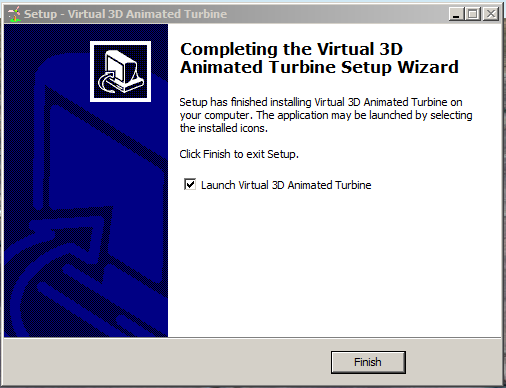
Download the Virtual 3D turbine animated software, double click on the .exe and install software. Below image show the software installation wizard.
      Icon will be created in desktop double click on icon. Below screen will open. 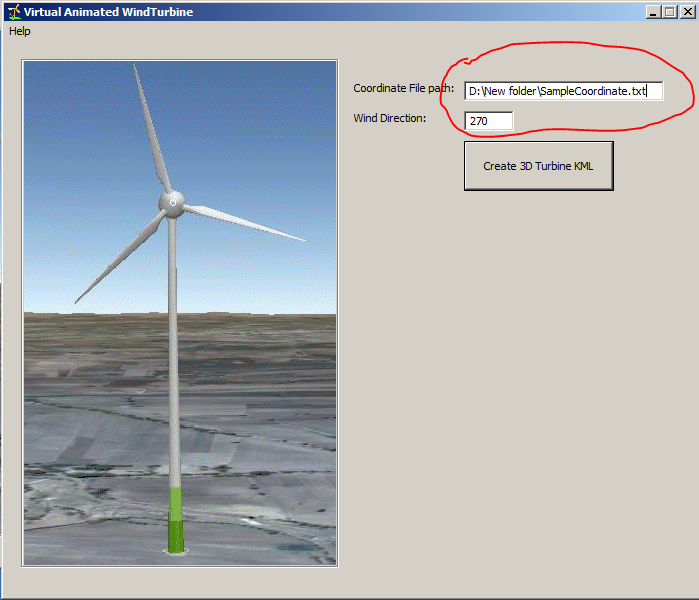 Enter the Coordinate file path as show in above image, You can specific Wind Direction(which makes the turbine to face to that direction). Click on Create 3D Tubine KML Button, you will get Finished..! message box click ok. The Google earth will open automatically (Note: Google earth should be installed before). 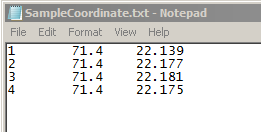 Coordinate file should be text file (.txt), Tab delimited(you can copy and paste the coordinate file from the Excel into notepad). Column 1 - Turbine Location Column 2 - Longitude Column 3 - Latitude 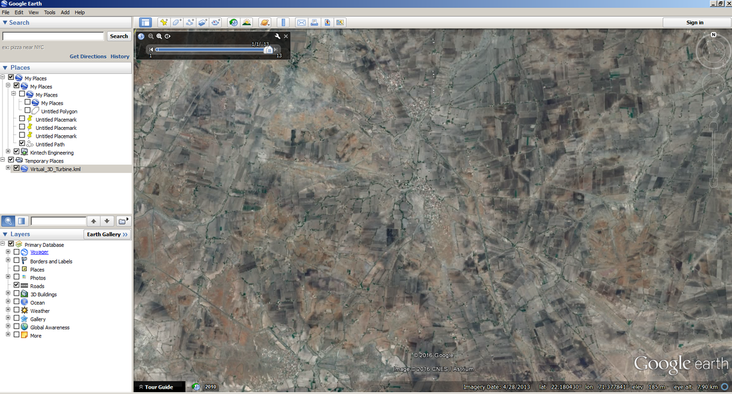 Click on + mark of Virtual_3D_Turbine.kml, (located in left window below Temporary Places) Double click on any turbine below that tree, you will be zoomed in towards wind farm. Pressing the mouse centre button you can tilt the view as you required. If you see the multiple blade like shown in below image follow the instruction below to run animation. 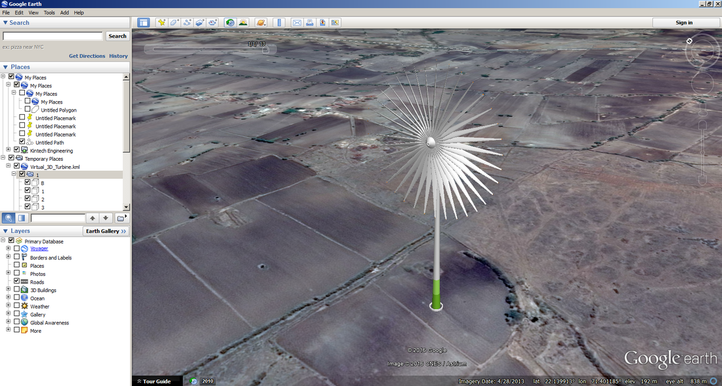 Drag and merge the two bar which is located in left top corner. Shown in below image. 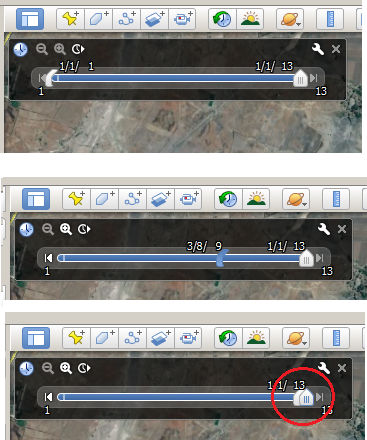 Click on the spanner icon, you will see Date and Time Options window, right mark the Loop animation in left bottom, and move the Animation speed bar to faster and click in OK. (show in below image.) 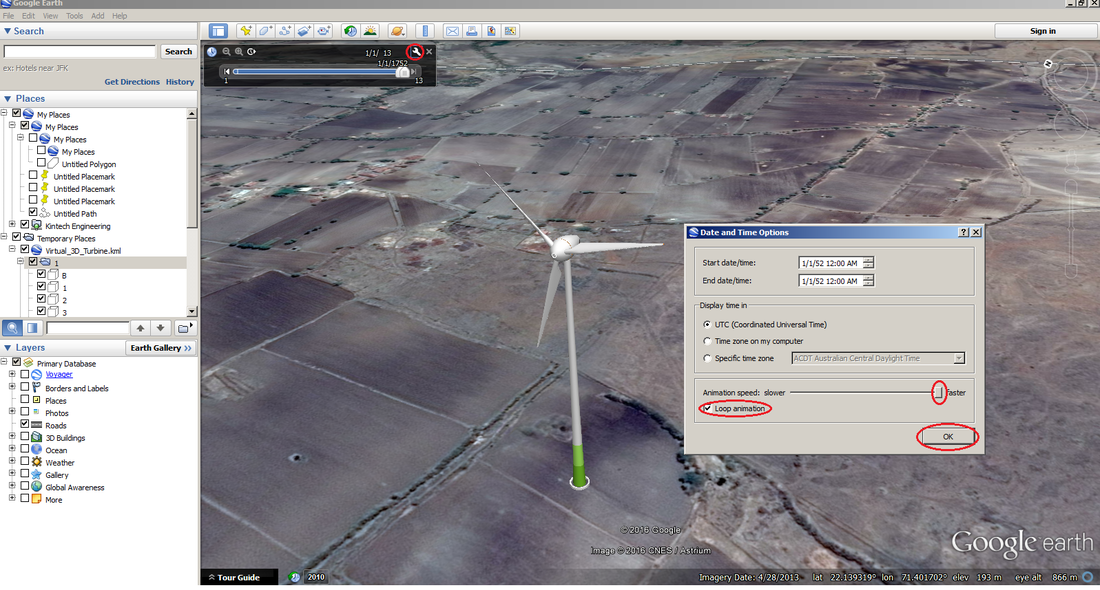 Click on play animation button. shown in below image. 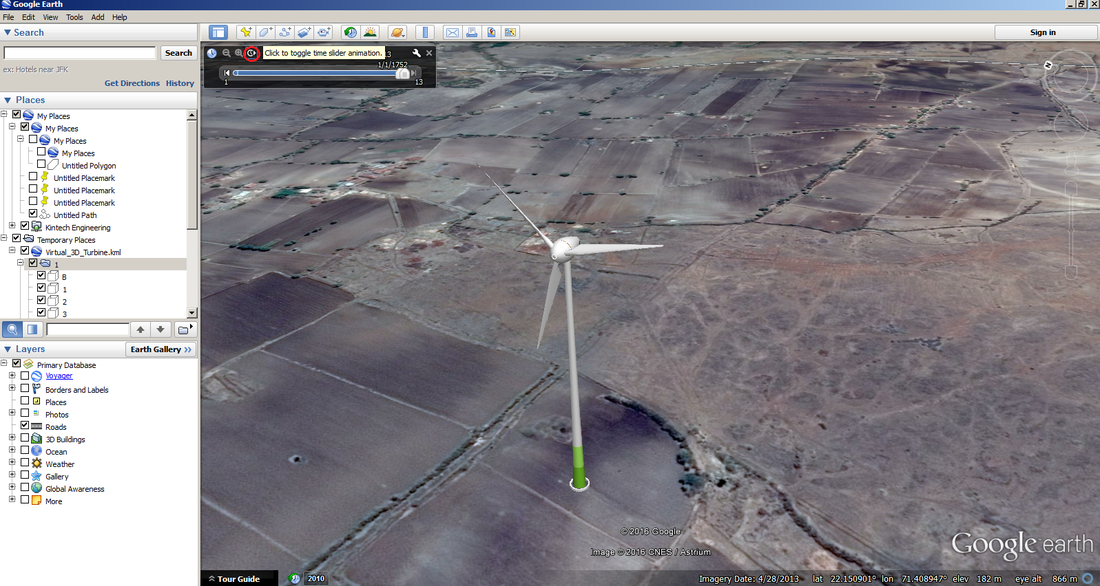 You can find the complete video tutorial below. |
|||||||
 RSS Feed
